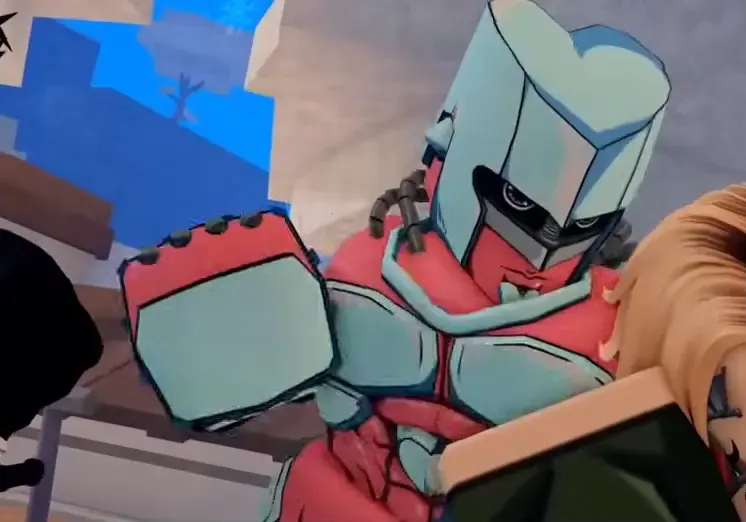
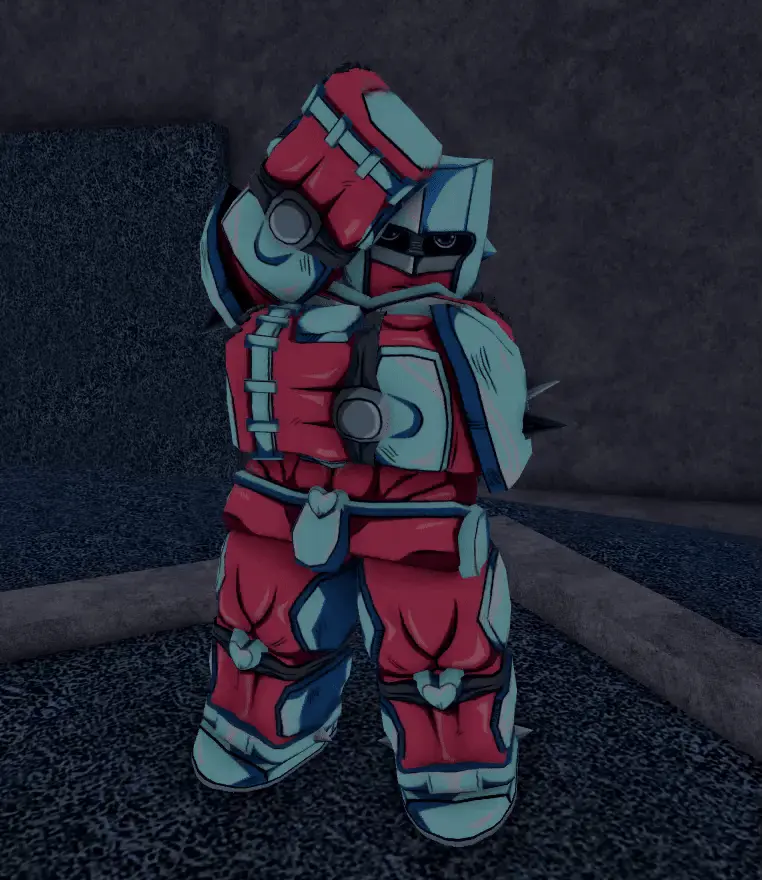
Crazy Diamond
UncommonRanged poker with decent PvP — weak combos and AoE.
Overall:BPvP:BPvE:B
Combat Stats
Damage
6
Combo
5
Crowd Control
5
Sustain
6
Mobility
4
In-Game Animation
Overview
Josuke's Stand with good ranged pokes and PvP potential, but its combo and AoE are lacking. A solid mid-tier stand.
Moveset
| Key | Move | Effects | Range |
|---|---|---|---|
| E | DORA Barrage Your standard barrage. Classic DORA DORA punches. Multi-hit DMG | Multi-hit DMG | close |
| R | Heavy Punch Crazy Diamond lets out its strongest heavy punch. If pressed again, the enemy is brought back to you while giving them a tiny heal. Double-tap R to pull enemy back High DMG (R+R: Return + Tiny Heal) | High DMG (R+R: Return + Tiny Heal) | close |
| Z | Bearing Shot Crazy Diamond holds out 2 silver balls and shoots them with its fingers, making them lethal projectiles in combat. Ranged DMG (2 projectiles) | Ranged DMG (2 projectiles) | long |
| X | Heal Mode Crazy Diamond turns on its restoration mode, healing anyone or anything that it hits. Toggle Heal Mode | Toggle Heal Mode | self |
| C | Wall Smash Crazy Diamond grabs a piece of the ground and lifts it with full force, hitting the opponent and lifting them into the air against the rock wall. Then Crazy Diamond punches them through the wall. Heal Mode variant: restores the ground into a defensive wall. Grab Rock + Slam + Wall Break (Heal Mode: Creates Wall) | Grab Rock + Slam + Wall Break (Heal Mode: Creates Wall) | medium |
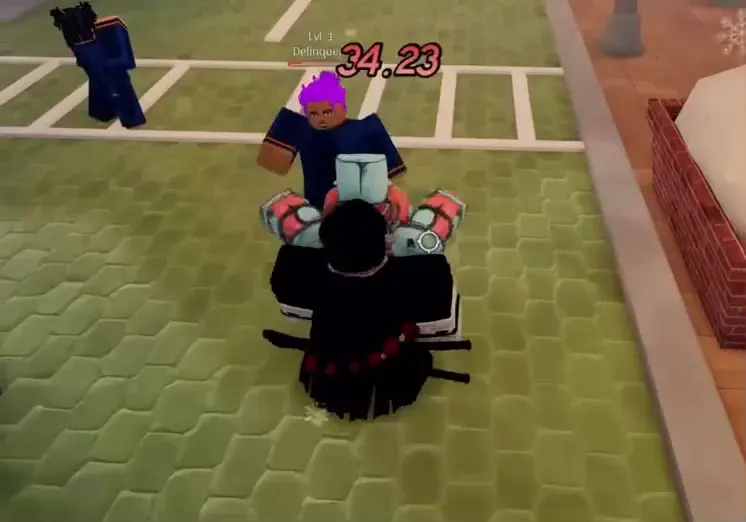
| V | Pulverizer Crazy Diamond slams the ground with immense strength, hurting the opponent. The rocks from the smashed ground are restored into the opponent's body, immobilizing them for a period of time. Ground Slam + Rock Restore + Immobilize | Ground Slam + Rock Restore + Immobilize | medium |
| H | Awakening Crazy Diamond Awakening. Full HP + DMG Buff | Full HP + DMG Buff | self |
| PASSIVE | Rage Mode When Crazy Diamond takes enough damage, it enters Rage Mode due to hairstyle frustration — damage dealt increases by approximately 15%. +15% DMG when triggered | +15% DMG when triggered | self |
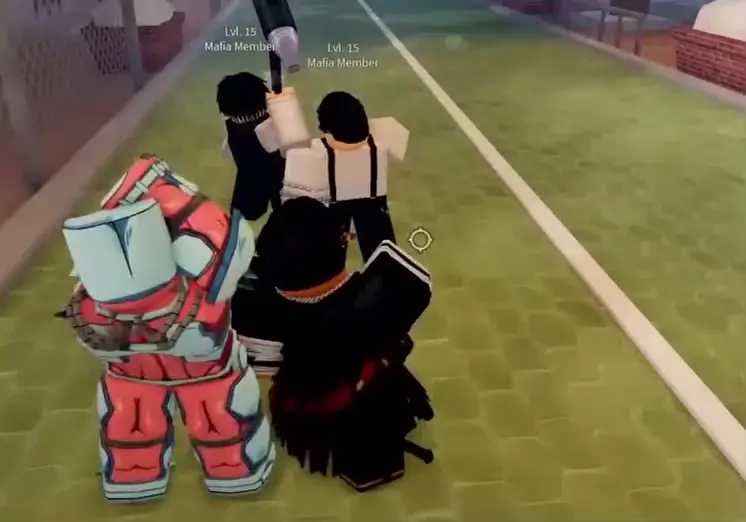
Ability Showcase
EDORA Barrage
Multi-hit DMG
RHeavy Punch
High DMG (R+R: Return + Tiny Heal)
ZBearing Shot
Ranged DMG (2 projectiles)
XHeal Mode
Toggle Heal Mode
CWall Smash
Grab Rock + Slam + Wall Break (Heal Mode: Creates Wall)
Tips & Strategy
- 1Good support stand for healing your team. Bearing Shot is your best DPS move.
- 2Bearing Shot gives decent poke at range.
- 3Combo potential is low — focus on ranged pressure.
- 4Good mid-game stand, eventually outclassed.